Hewwo!
I honestly don't know where to start. In November 2023, I auctioned a Rittal Server Rack on eBay. I thought, "Hey, I can disassemble it and put it in the basement." Well, long story short, the "small plan" took until February 2025 to complete.
This is the first blog post with chapters since the story was such a roller coaster for me. To skip to certain chapters, click below:
- Chapter 1: Getting the Rack
- Chapter 2: Putting the Rack Back Together
- Chapter 3: One server after the other...
- Chapter 4: Conclusion
- Chapter 5: Pictures
Chapter 1: Getting the Rack
While scrolling through eBay, I came across a Server Rack for EUR200. The problem? Pick-up only. I contacted the seller, and he agreed to deliver it for EUR30. Agreed, and there it was, in my garage.
It was a 42U Rittal Server Rack with plenty of space for my stuff. I was so happy-I could finally put my server in there and not have to worry about the mess with normal tower cases.
So, I started to disassemble it and tried to get it into my basement. The problem? It was too tall to get around the corner, even with the feet disassembled.
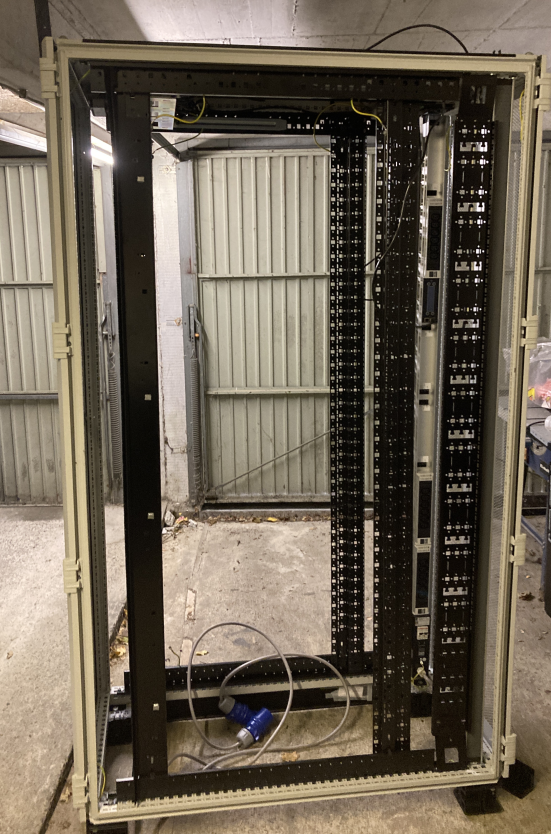
So, it stood there. I thought about cutting it in half and then welding it back together, but finding someone who could weld that precisely wasn't easy.
After a few months-12 to be exact-my father came up with a final idea: cutting it in half, but before doing that, attaching 90-degree angle plates. And it worked!
Chapter 2: Putting the Rack Back Together
So, I got all the parts into the basement, in pieces. Now the hardest part is getting everything back together so that it fits, which isn't easy when material is missing because it got ground away.
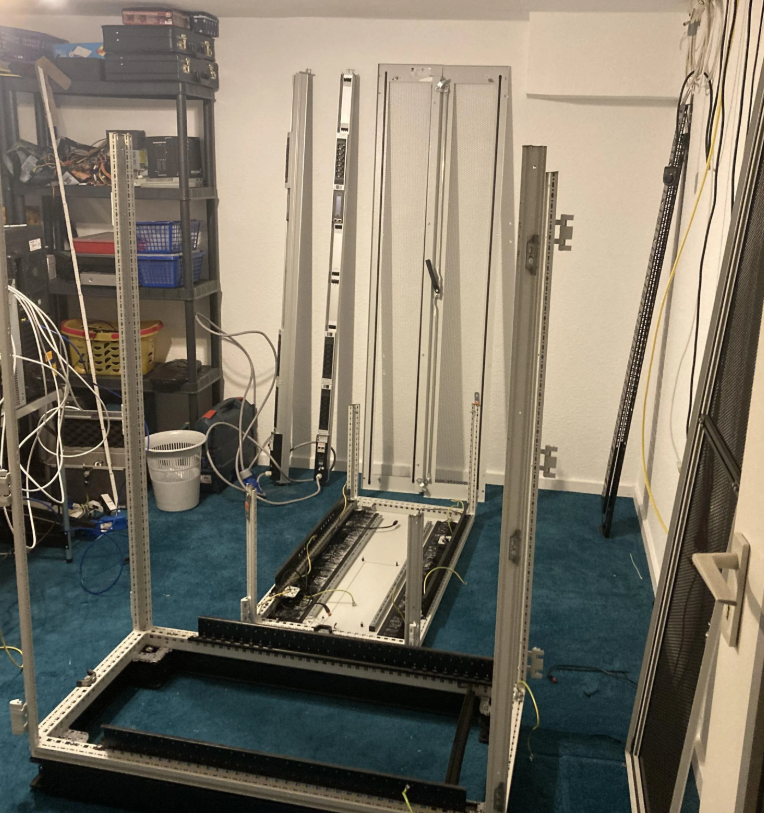
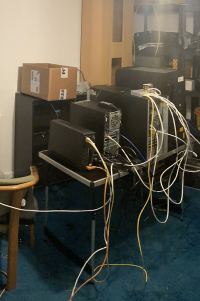
As you can see in the picture, it isn't the biggest room. You can actually see remnants of how things used to be, like a table with all the servers on top of it.
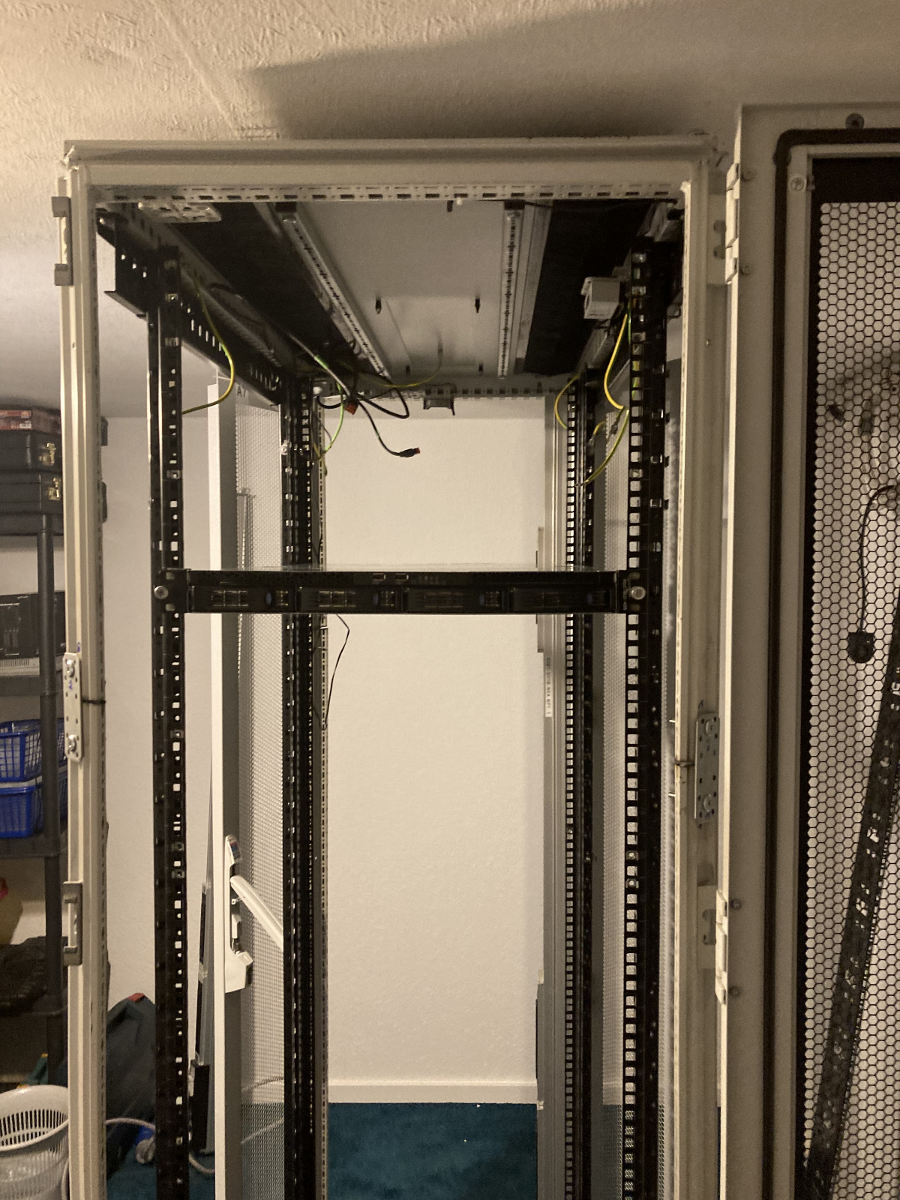
After a few hours of struggle, and with the help of Jox if you're reading this, thank you <3, we managed to get the base frame back together.
Now the only thing missing is the inner frame, including components like the PDU, height unit rails, etc.
Chapter 3: One Server After the Other...
Now, the fun part begins. I have to put all the servers into the rack. The problem? The servers are in tower cases right now, so I first need to get fitting 19" cases that don't cost me a fortune.
The good thing is, I know how to use eBay. I found a few cases with rackmount kits that would fit my needs. The only problem? I have really specific requirements.
After finding some, I ordered them and am currently using the following cases:
- Chenbro RM21706 for the NAS, since it came with an IcyDock 4x 2.5" bay for the 5.25" bay
- Chenbro RM13604H for the Gameserver
- Chenbro SR107 for the Main System
So, I started transferring the components into the cases. The Gameserver server was the first one to be honored with the rack. Moving everything was pretty straightforward and easy. The only problem was the CPU fan, it was a bit too high, so I needed to get a new one.
After that, I moved the NAS into the rack, which was a bit more complicated since I needed to move the HDDs into the new case and cable everything properly.
Finally, the main system was the last one to be moved into the rack. Since I had already planned for it to be rack-mount capable, it was the easiest to move.
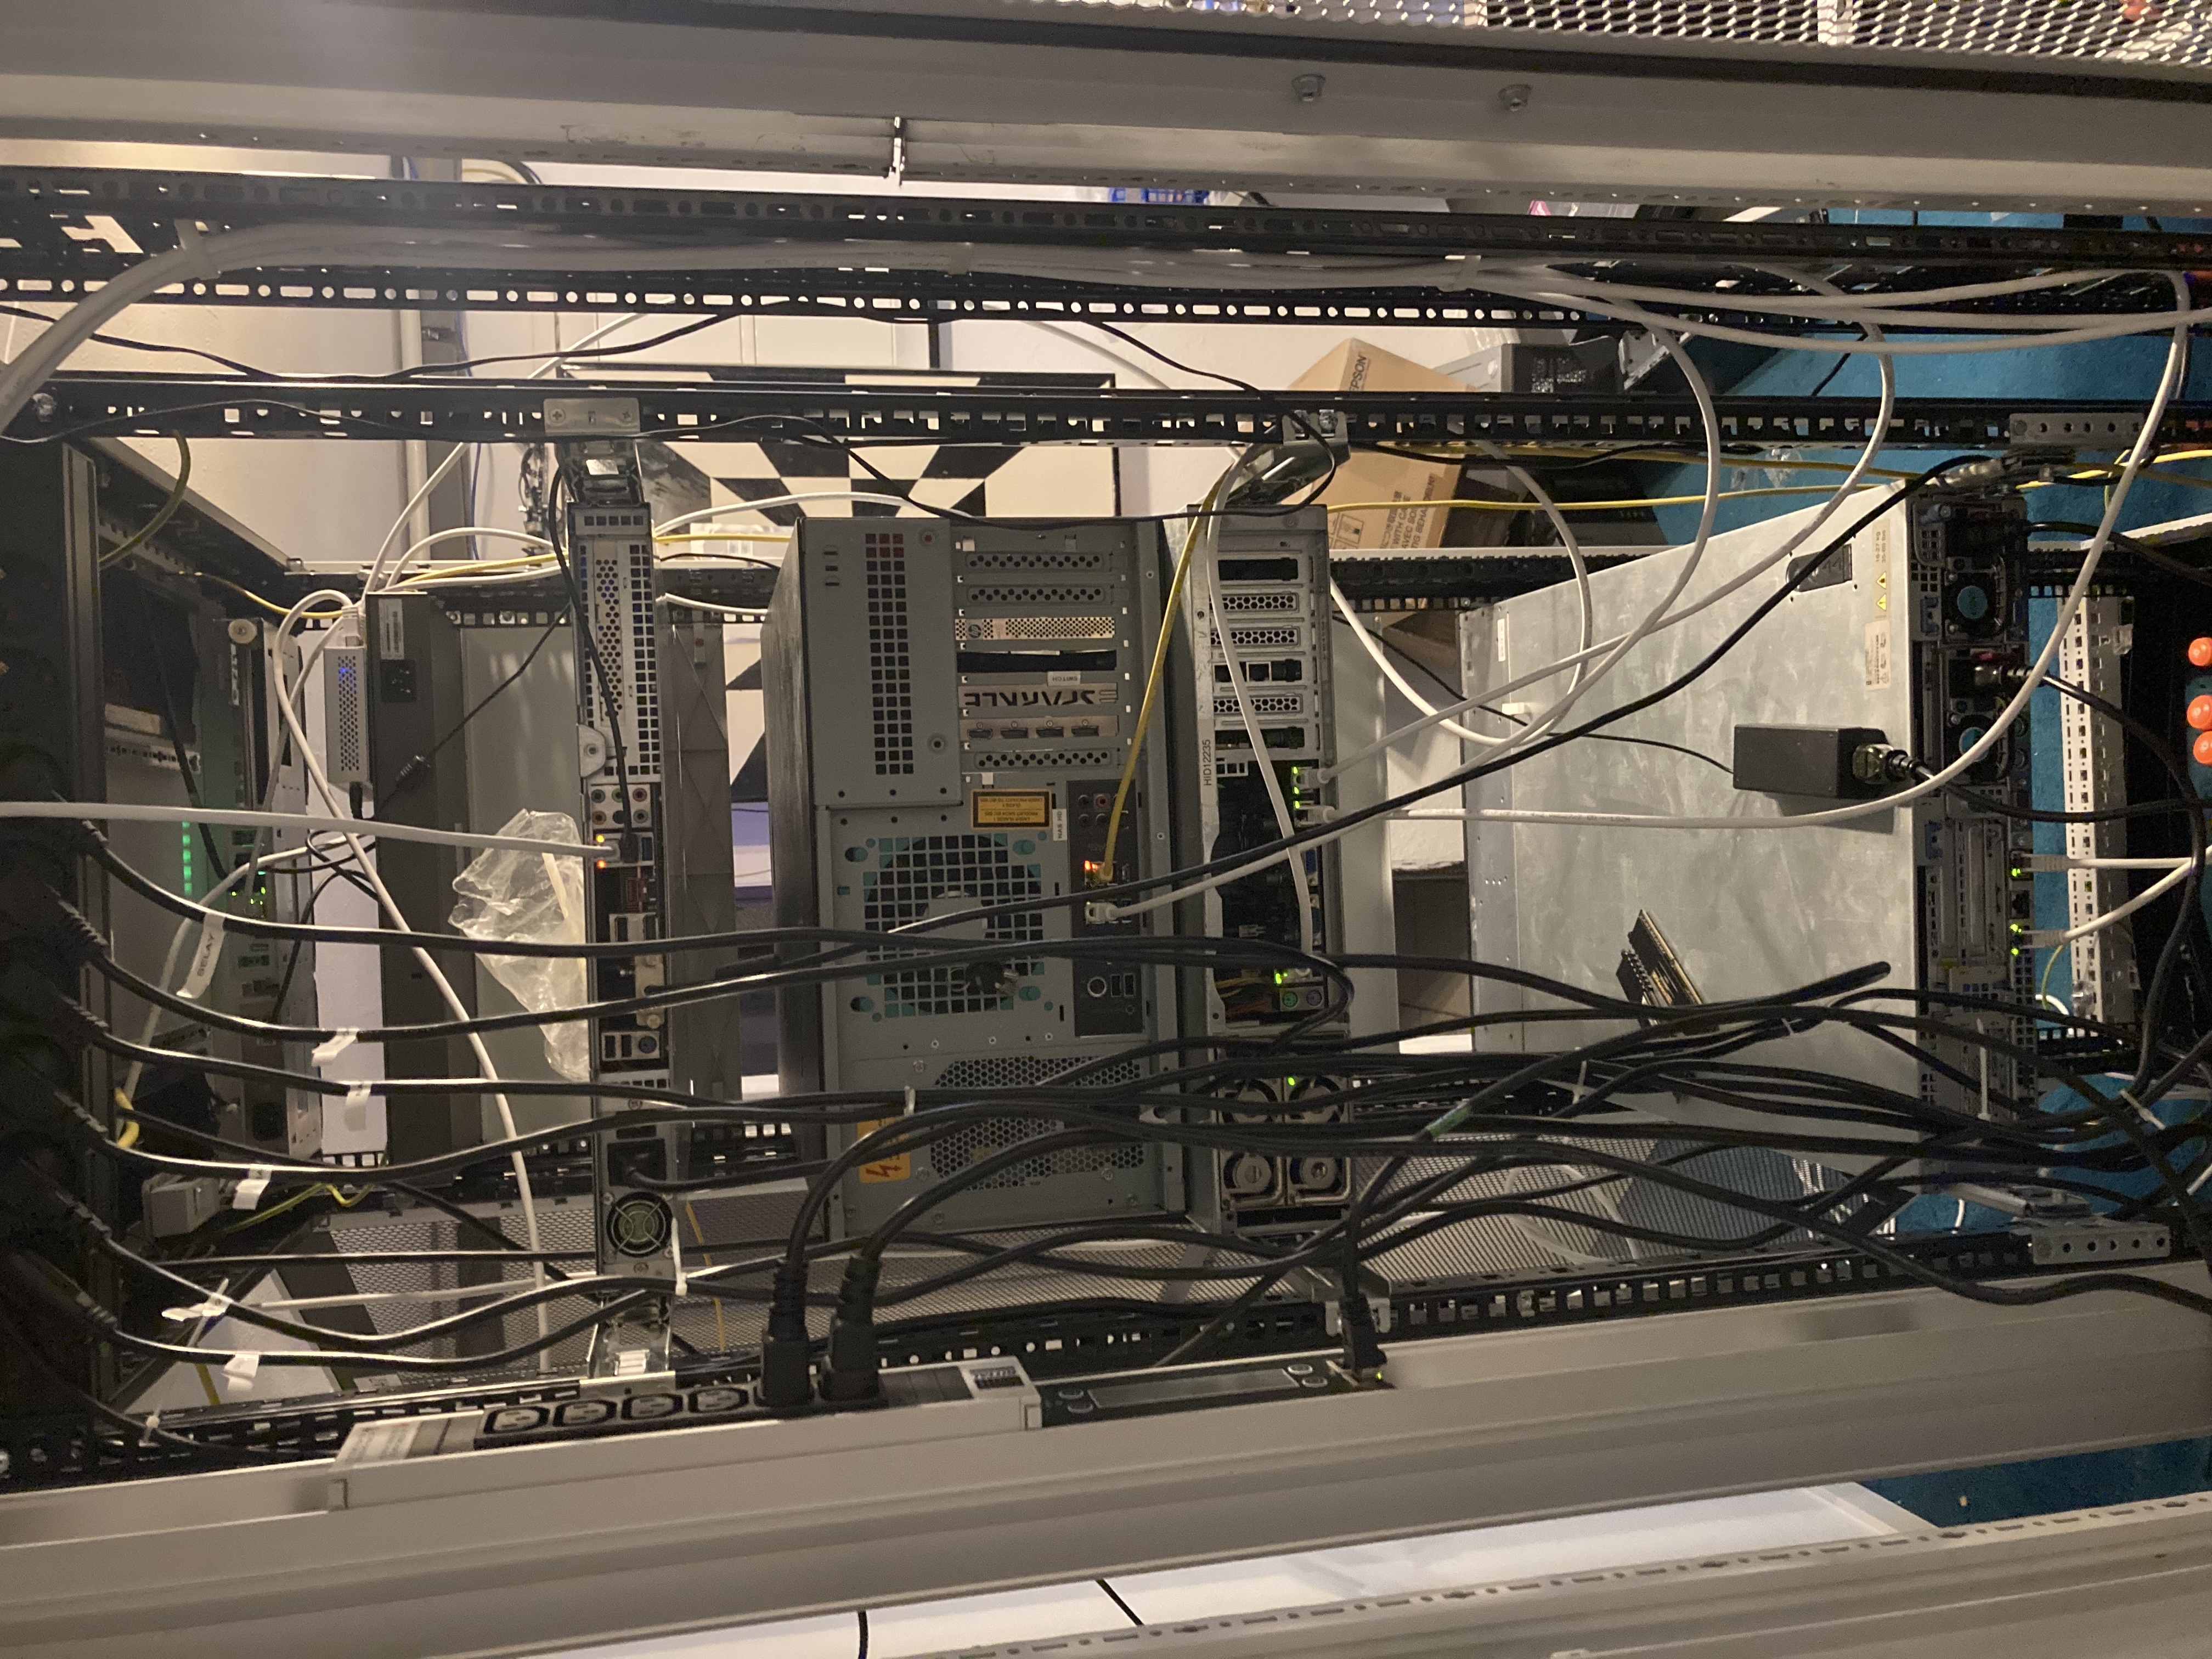
Everything was now sitting in the rack, but unforeseen problems arose. The HBA of the NAS didn't get enough cooling since there was no longer a case fan blowing on it. I had to transfer the 80mm fan from the main system to the NAS. It uses a Molex connector, so I had to redo the entire wiring in the NAS, which turned out to be really nerve-wracking.
Since then, everything has been running smoothly without any issues.
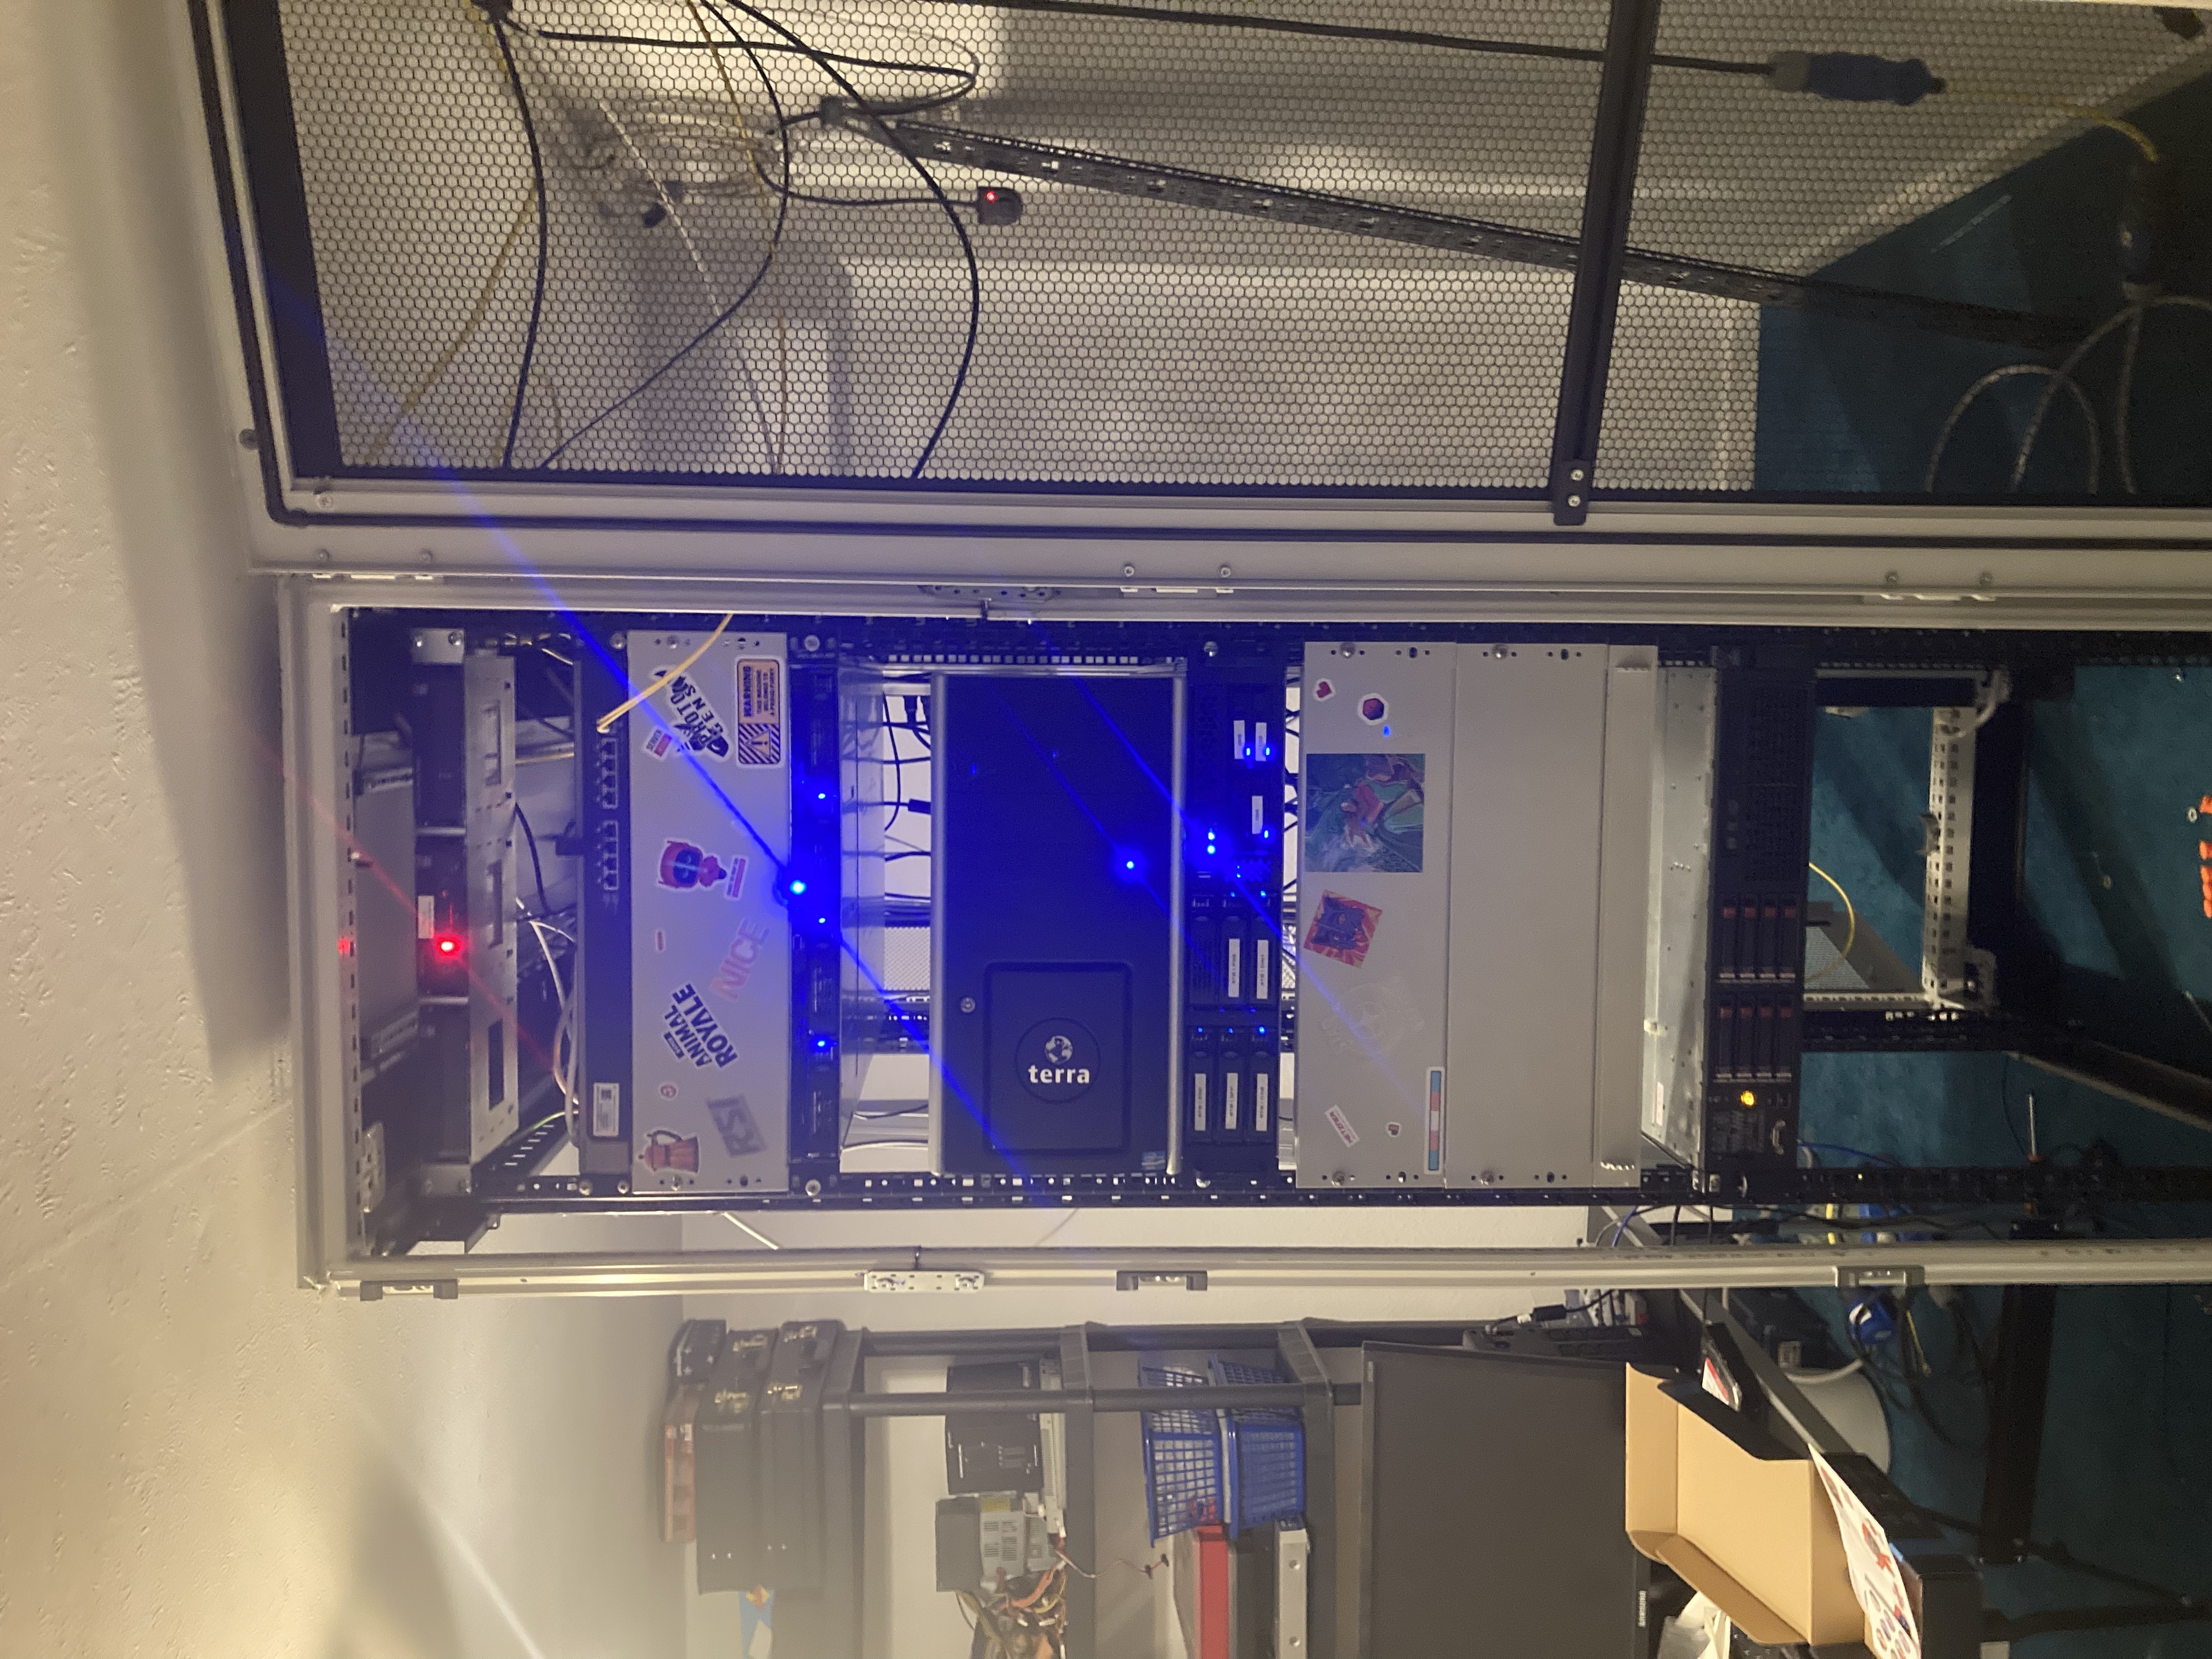
The last step was to organize and mount all the networking equipment into the rack. Now, everything is finally in place!
Chapter 4: Conclusion
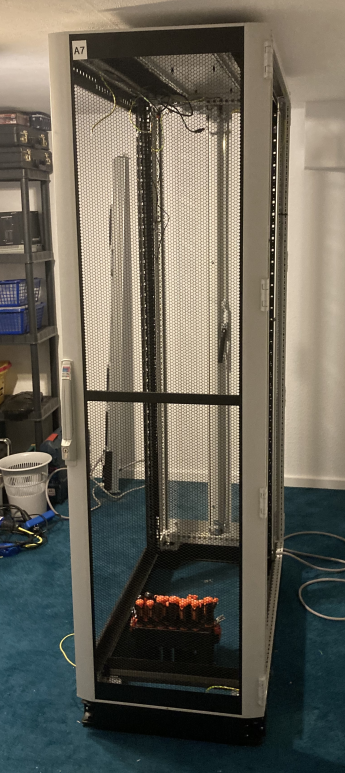
I am really happy that everything worked out the way it did, and I am very satisfied with the result.
It feels so much nicer to have a proper rack and not deal with the struggle of having four towers standing around. It takes up so much less space since everything is vertical.
If you want to try something like this yourself, please make sure to check if you have enough space and if you can get it into the desired location.
Finally, I want to thank my father and Jox for supporting and helping me during this 1.2 year-long journey.
Chapter 5: Pictures